Apple Xserve Early 2008 FB-DIMM Memory Replacement
FB-DIMM Memory Replacement Instructions
Follow the instructions in this document carefully. Failure to follow these instructions could damage your equipment and void its warranty.
Online instructions are available at http://www.apple.com/support/diy/.
Memory Overview
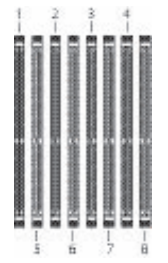
The server has 8 memory slots. The systems come with at least 1 gigabyte (GB) of memory on two fully-buffered dual inline memory modules (FB-DIMMs). To improve performance and capacity, you can install additional DIMMs for a total of up to 32 GB of memory. The eight memory slots are labeled DIMM 1 through DIMM 8.
You can use the following memory in the server:
- 667 MHz DDR2 ECC FB-DIMMs
- 512 MB, 1 GB, 2 GB, or 4 GB in matching pairs (optimal, 4 or 8 identical DIMMs)
- 36 devices per DIMM, maximum
- Error-correcting code (ECC)
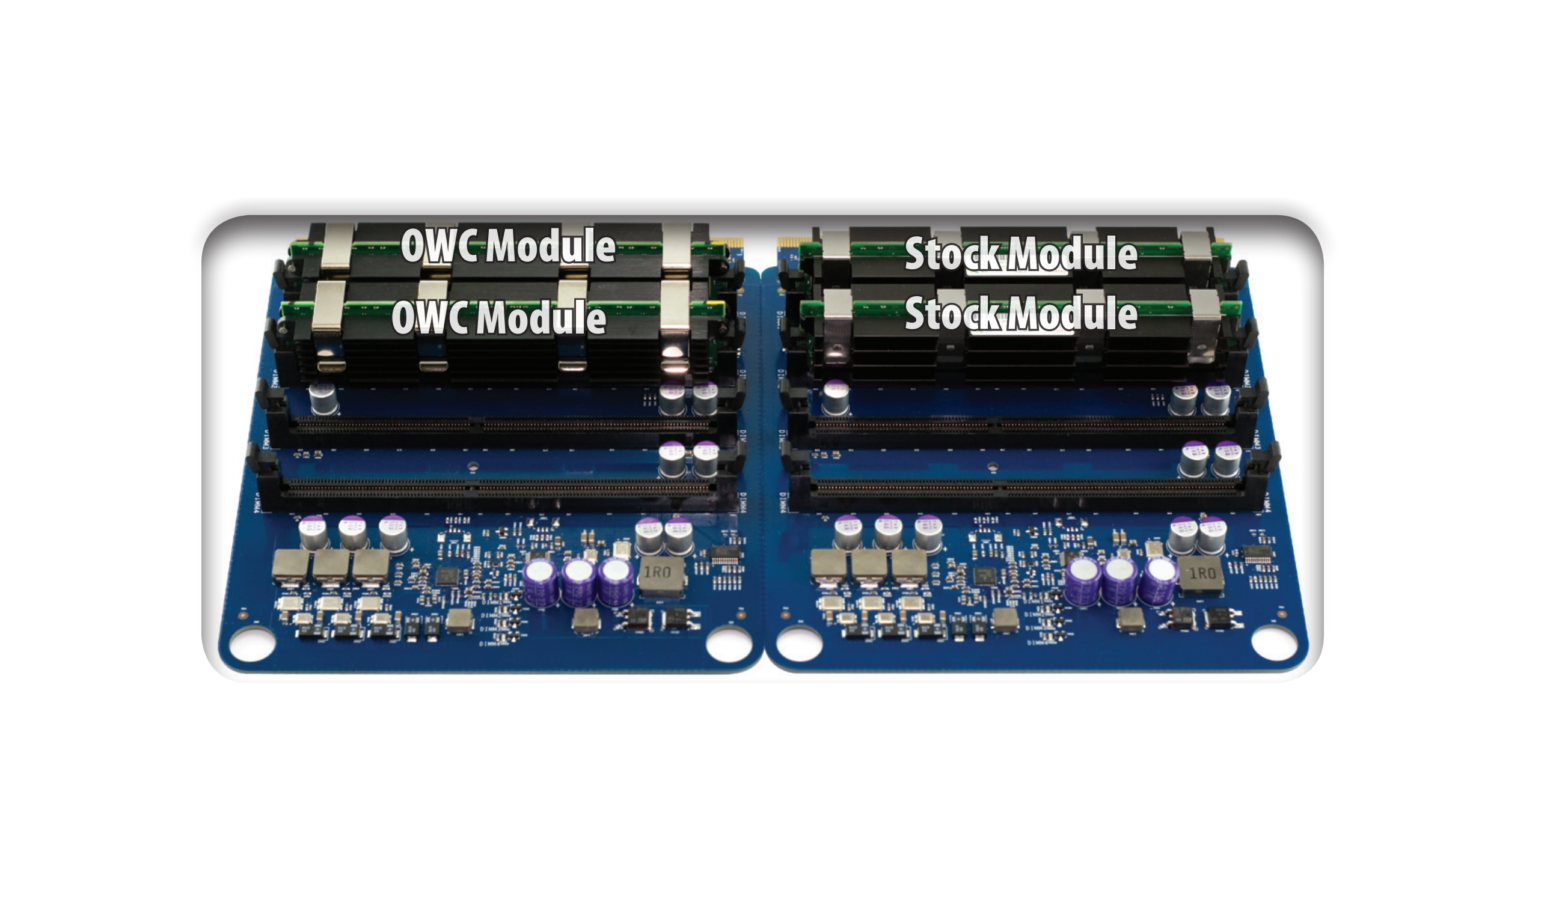
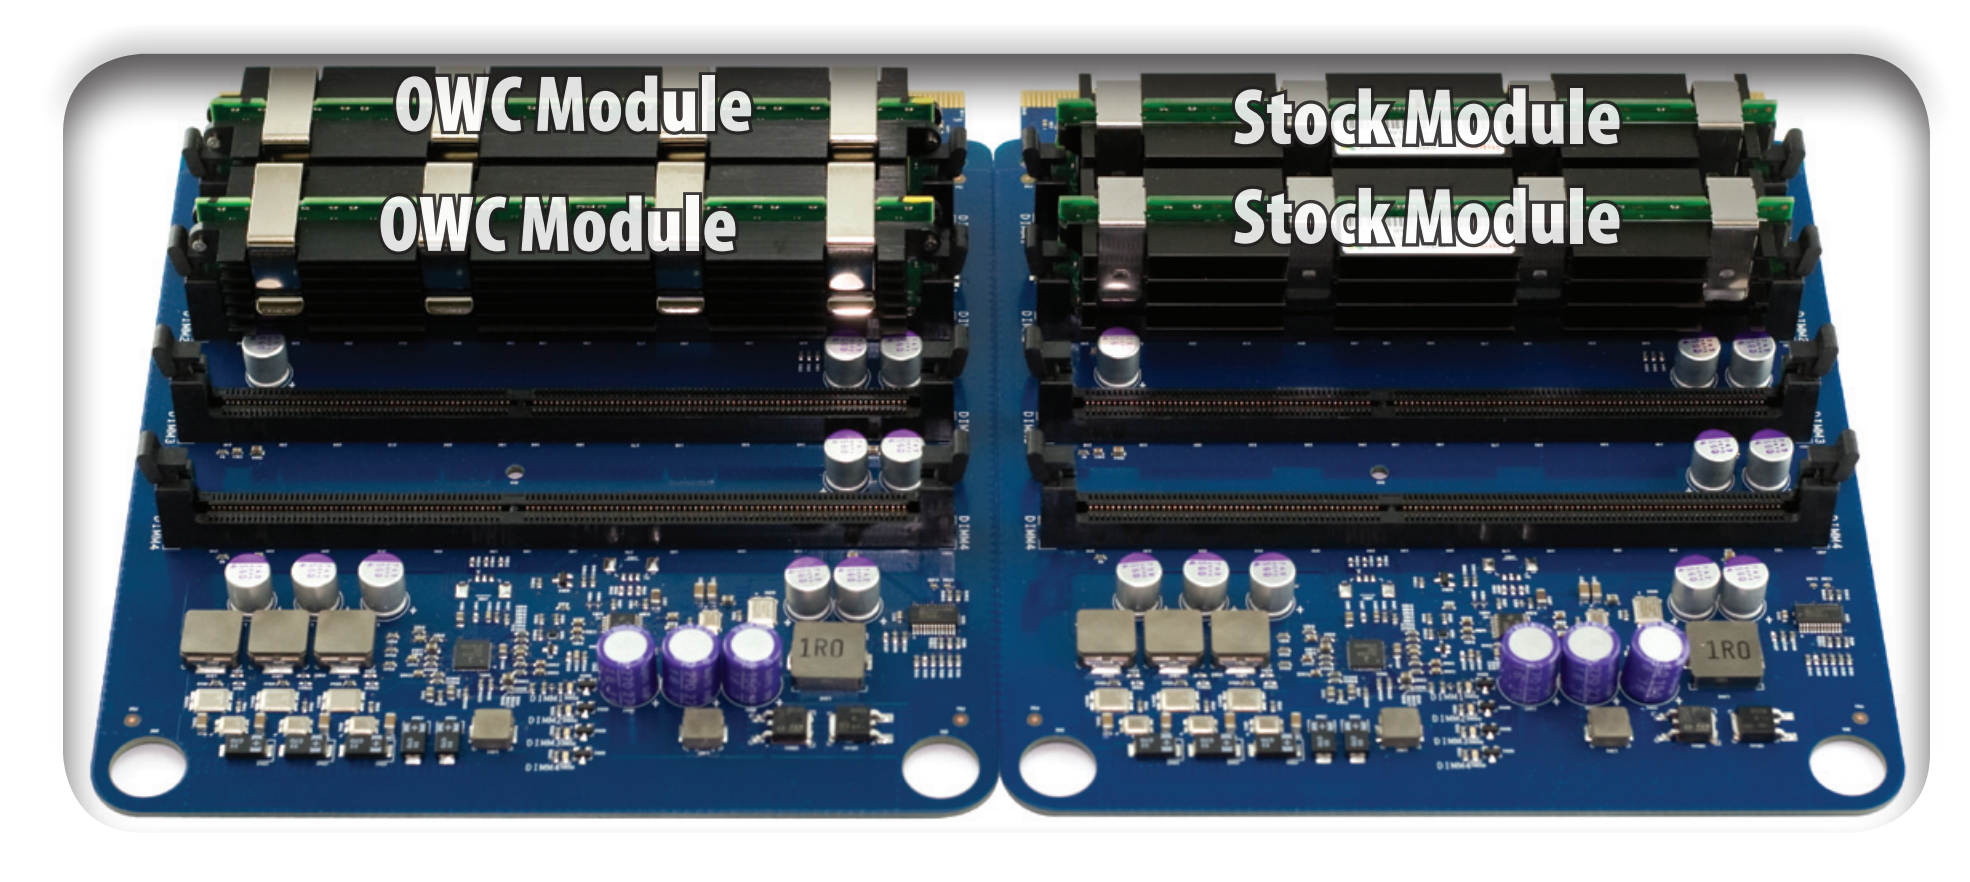
Important: Apple recommends that you use Apple-approved FB-DIMMS. Other FB-DIMMs might degrade the performance of the Xserve. DIMMs from older Xserve systems are not compatible with this Xserve.
Note: Before you purchase DIMMs other than those recommended by Apple, make sure that the memory manufacturer conforms to the Joint Electronic Device Engineering Council (JEDEC) specification. Make sure that the DIMMs support the correct timing modes and that the Serial
Presence Detect (SPD) feature has been implemented in accordance with the JEDEC specification.
To check DIMM compatibility, see the Macintosh Products Guide on Apple’s website at www. apple.com/guide. You can purchase Apple-approved memory online from the Apple Store at www.apple.com/store.
Installation Rules
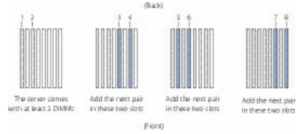
You must install DIMMs in pairs, and the DIMMs in each pair must be identical (the same size, speed, etc.). The first pair is installed in slots 1 and 2. Install the next pair in slots 3 and 4. Subsequent pairs go in slots 5 and 6, and then slots 7 and 8.
For Best Performance For the best performance, use identical DIMMs in all slots and fill up slots 1 through 4 before you install DIMMs in slots 5 through 8. If you don’t have eight identical DIMMs, install identical DIMMs in slots 1 through 4 and a second set of four identical DIMMs in slots 5 through 8. If you can, after you fill slots 1 through 4, add a full set of four DIMMs in slots 5 through 8 instead of just a pair in slots 5 and 6.
Working Safely Inside the Xserve
Always touch the Xserve enclosure to discharge static electricity before you touch any components inside the Xserve. To avoid generating static electricity, do not walk around the room until you have finished working inside the server and have replaced the cover. To minimize the possibility of damage due to static discharge, wear an antistatic wrist strap while you work inside the Xserve.
Warning: Always shut down the Xserve and disconnect the power cords before opening it to avoid damaging its internal components or the components you are installing. Don’t open the server while it is turned on. Even after you shut down the Xserve, its internal components can be very hot. Let it cool before you open it.
Tools Required
No tools are required for this procedure.
Removing the Xserve from a Rack
- Alert users that the server will be unavailable for a period of time.
- Shut down the Xserve (see the Xserve User’s Guide for help) and then wait to let the Xserve internal components cool.
Warning: Always shut down the Xserve before opening it to avoid damaging its internal components or the components you want to install or remove. Don’t open the Xserve or try to install or remove items inside while it is turned on. Even after you shut down the Xserve, its internal components can be very hot. Let it cool down for 5 to 10 minutes before you open it. - Unplug all cables from the Xserve.
Note: If you have trouble releasing a cable from the back panel, try using a small screwdriver or other flat tool to depress the tab on the cable connector. - To avoid inadvertently unlatching a drive module during handling, use the enclosure key to lock the enclosure lock on the front panel.
- Touch the server’s metal case to discharge any static electricity.
- Loosen the thumbscrews at both ends of the front panel.
- Grasp the thumbscrews and pull the Xserve forward until the safety latches engage (about halfway out of the rack).
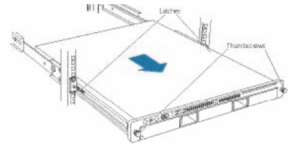
- When the safety latches engage, grip the Xserve where it emerges from the rack, press down on the latch tabs with your thumbs, and slide the Xserve the rest of the way out of the rack.
- Set the Xserve on a flat surface and unlock it.
Opening the Xserve
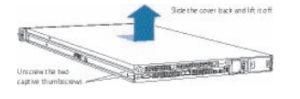
Loosen the thumbscrews at the back of the top cover and slide the cover back and up to remove it. If you have difficulty removing the cover, check the enclosure lock on the front panel.
Warning: Even after you shut down the Xserve, its internal components can be very hot. Let it cool before you open it.
Important: To minimize the possibility of damage to Xserve components due to static discharge, wear an antistatic wrist strap, if possible, while you work inside the Xserve.
Removing the Installed FB-DIMM
- Push down the ejectors on the FB-DIMM slot.
- Holding the FB-DIMM by both top corners, lift it straight up out of the Xserve.
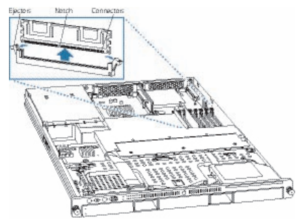
Warning: When removing or installing the DIMM, handle it only by the edges. Do not touch its connectors. Lift the DIMM straight up from the connector to remove it, and insert it straight down into the connector to install it. Do not rock the DIMM from side to side.
Installing the Replacement FB-DIMM
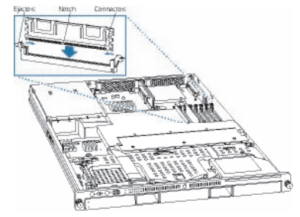
- Position the replacement FB-DIMM over the memory slot.
Note: The FB-DIMM is designed to fit into the slot only one way. Be sure to align the notch in the FB-DIMM with the small rib inside the slot. - Press down until the FB-DIMM ejectors snap into place.
Closing the Xserve
- Replace and secure the cover.
- Slide the Xserve back into the rack, and tighten the front thumbscrews to secure the Xserve in the rack.
- If the server case was locked, use the enclosure key to lock the security lock on the front panel.
Warning: Never turn on the server unless all of its internal and external parts are in place and it is closed. Operating the server when it is open or missing parts can damage it or cause injury.
PDF Resource
Apple Xserve Early 2008 FB-DIMM Memory Replacement Instructions Manual OPTIM PDF