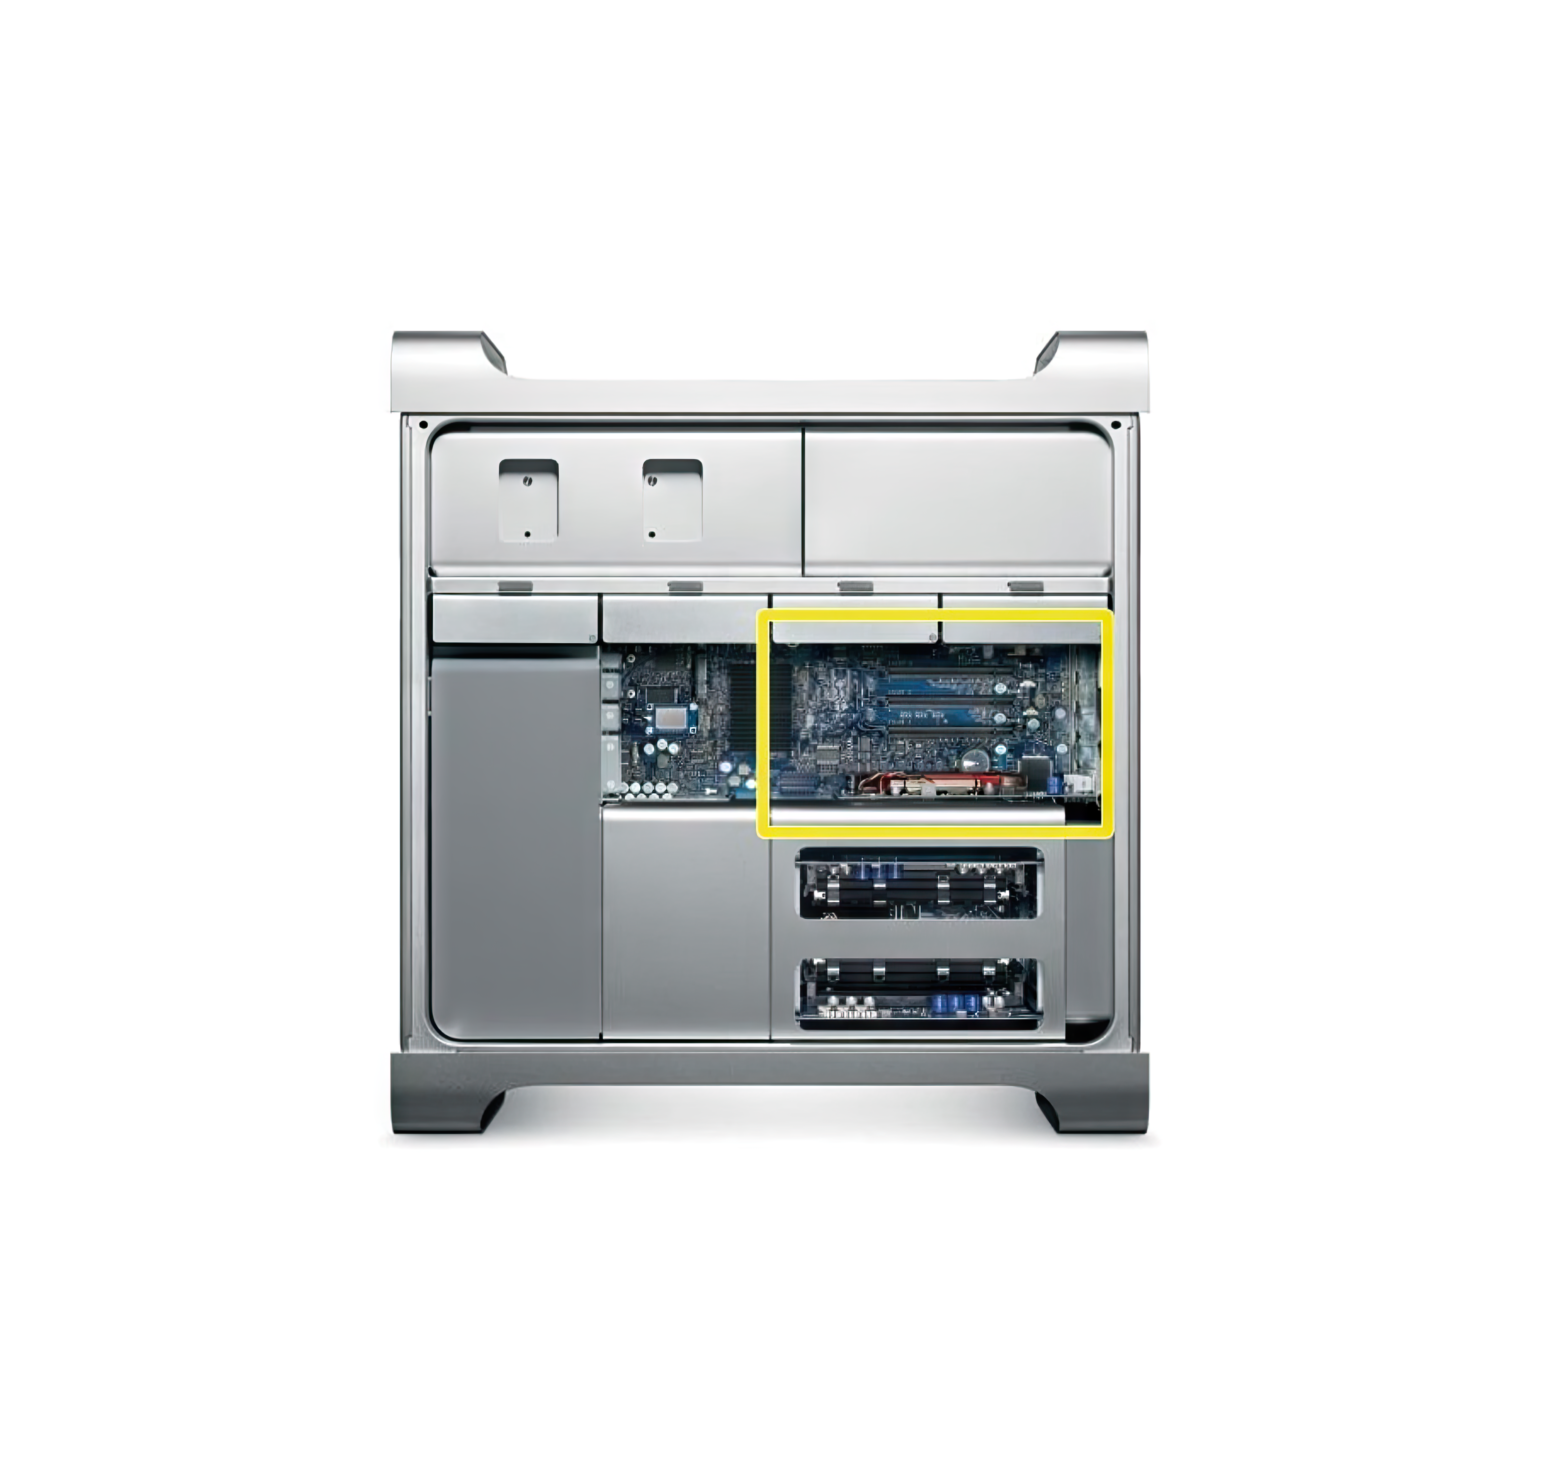
Apple Xserve Early 2008 PCI Expansion Card Replacement
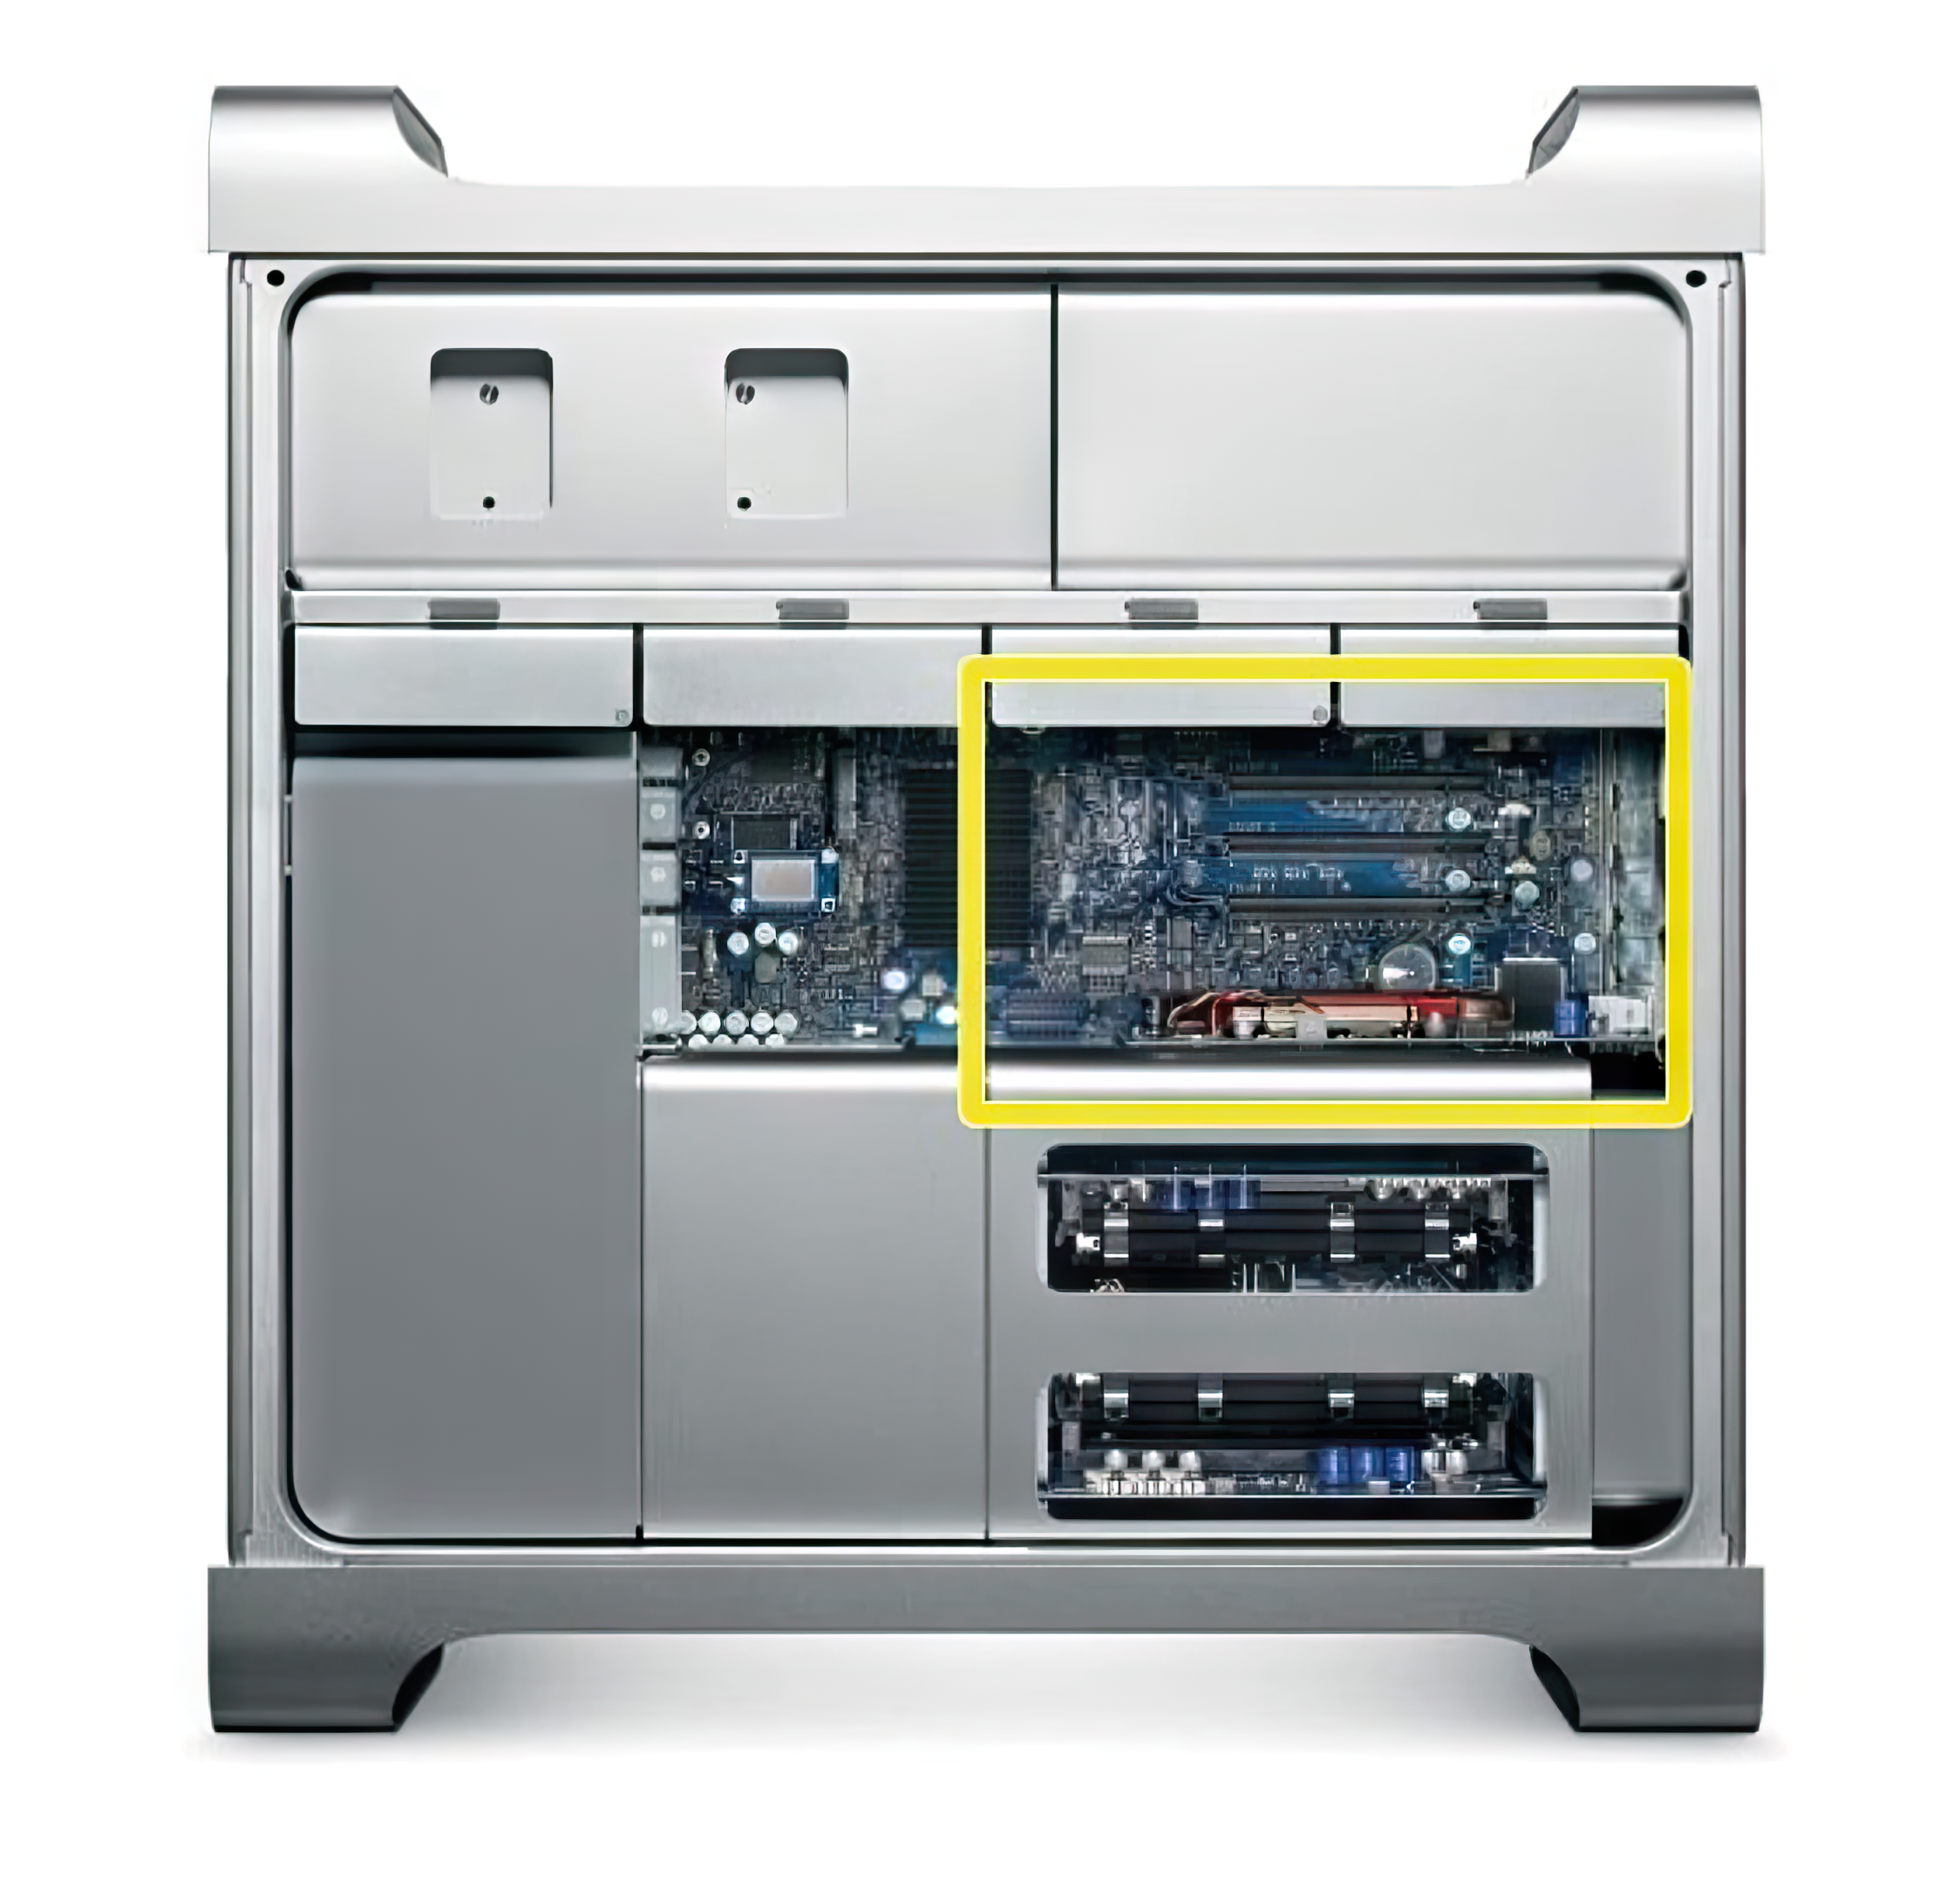
PCI Expansion Card Replacement Instructions
Follow the instructions in this document carefully. Failure to follow these instructions could damage your equipment and void its warranty.
Online instructions are available at http://www.apple.com/support/diy/.
Expansion Card Overview
The Xserve (Late 2006) has two expansion slots:
- Slot 1, which accepts full-length (9 inch) PCI-E or PCI-X cards
- Slot 2, which accepts half-length (6.6 inch) PCI-E cards
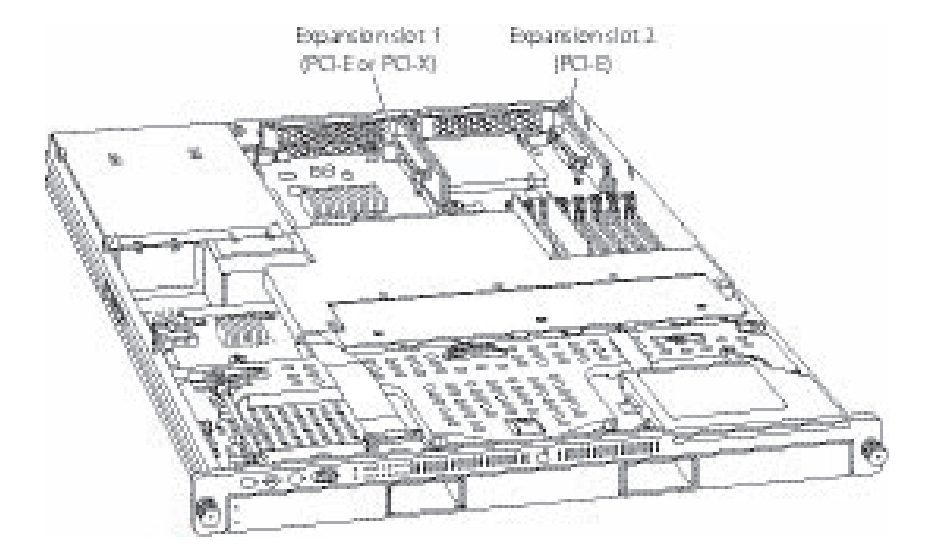
The Xserve (Late 2006) accepts expansion cards that meet these specifications:
Slot 1:
- Accepts 64-bit PCI-X 133 MHz cards (using a PCI-X riser)
- Also accepts 32-bit or 64-bit 33, 66, or 100 MHz PCI or PCI-X cards with 3.3 volt universal signaling
- Also accepts PCI-E x8 cards (using a PCI-E riser)
- 9 inch maximum length
- 25 Watt maximum power consumption
Slot 2:
- Accepts PCI-Express x8 cards (using a PCI-E riser)
- 6.6 inch maximum length
- 25 Watt maximum power consumption
To install a card, you first insert it into a matching riser, and then install the riser into the slot. The type of card you can install depends on the riser you use:
- A PCI-E riser can go in either slot, and accepts only PCI-E cards
- A PCI-X riser can go in slot 1, and accepts only PCI-X cards
Working Safely Inside the Xserve
Always touch the Xserve enclosure to discharge static electricity before you touch any components inside the Xserve. To avoid generating static electricity, do not walk around the room until you have finished working inside the server and have replaced the cover. To minimize the possibility of damage due to static discharge, wear an antistatic wrist strap while you work inside the Xserve.
Warning: Always shut down the Xserve and disconnect the power cords before opening it to avoid damaging its internal components or the components you are installing. Don’t open the server while it is turned on. Even after you shut down the Xserve, its internal components can be very hot. Let it cool before you open it.
Tools Required
The only tool required for this procedure is a Phillips #1 screwdriver.
Removing the Xserve from a Rack
- Alert users that the server will be unavailable for a period of time.
- Shut down the Xserve (see the Xserve User’s Guide for help) and then wait to let the Xserve internal components cool.
Warning: Always shut down the Xserve before opening it to avoid damaging its internal components or the components you want to install or remove. Don’t open the Xserve or try to install or remove items inside while it is turned on. Even after you shut down the Xserve, its internal components can be very hot. Let it cool down for 5 to 10 minutes before you open it. - Unplug all cables from the Xserve.
Note: If you have trouble releasing a cable from the back panel, try using a small screwdriver or other flat tool to depress the tab on the cable connector. - To avoid inadvertently unlatching a drive module during handling, use the enclosure key to lock the enclosure lock on the front panel.
- Touch the server’s metal case to discharge any static electricity.
- Loosen the thumbscrews at both ends of the front panel.
- Grasp the thumbscrews and pull the Xserve forward until the safety latches engage (about halfway out of the rack).
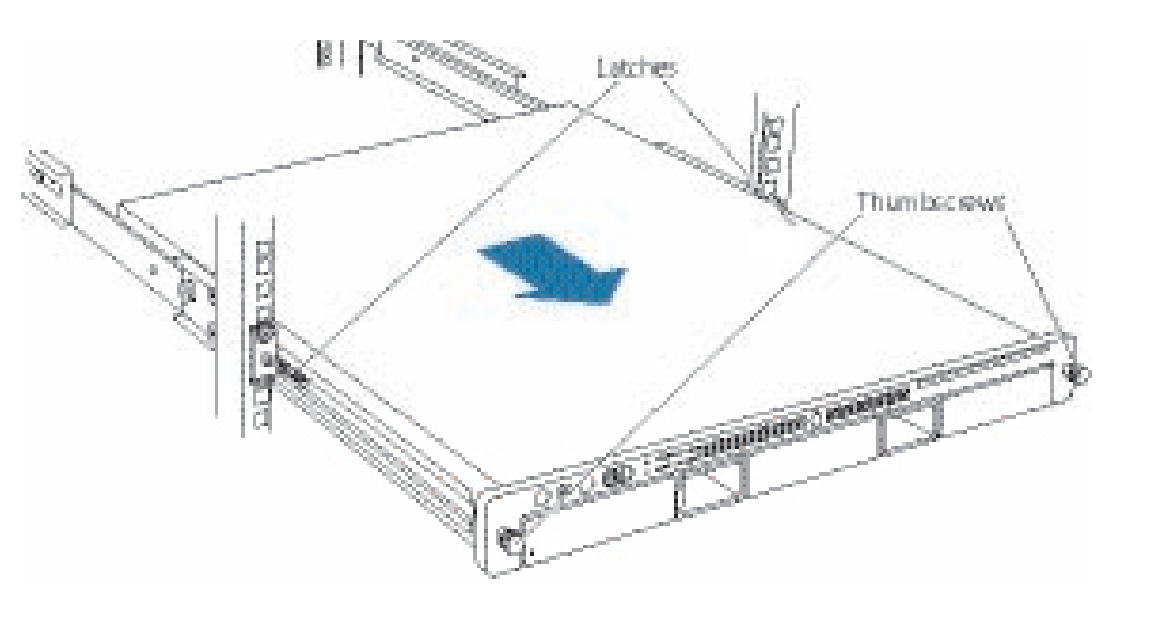
- When the safety latches engage, grip the Xserve where it emerges from the rack, press down on the latch tabs with your thumbs, and slide the Xserve the rest of the way out of the rack.
- Set the Xserve on a flat surface and unlock it.
Opening the Xserve
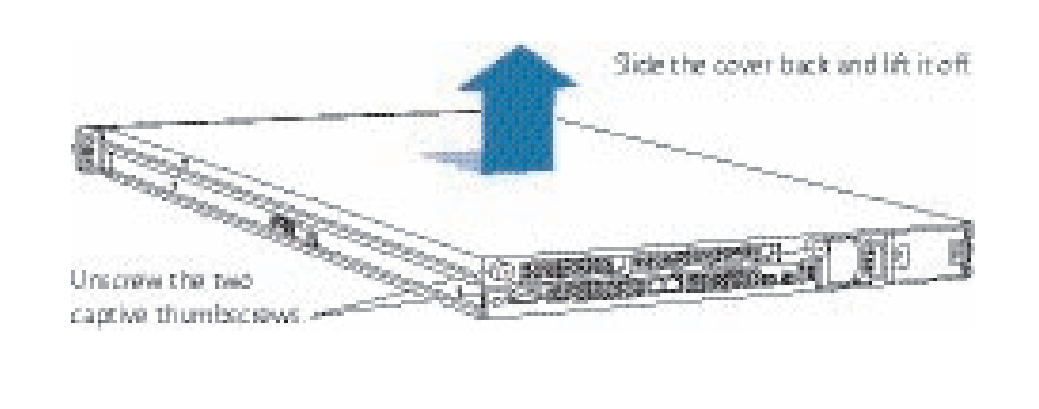
Loosen the thumbscrews at the back of the top cover and slide the cover back and up to remove it. If you have difficulty removing the cover, check the enclosure lock on the front panel.
Warning: Even after you shut down the Xserve, its internal components can be very hot. Let it cool before you open it.
Important: To minimize the possibility of damage to Xserve components due to static discharge, wear an antistatic wrist strap, if possible, while you work inside the Xserve.
Removing the Installed Expansion Card
- Loosen the two captive screws that secure the riser bracket to the back panel.
- Carefully pull up on the bracket and riser, with the expansion card still attached, to disconnect the riser from the logic board.
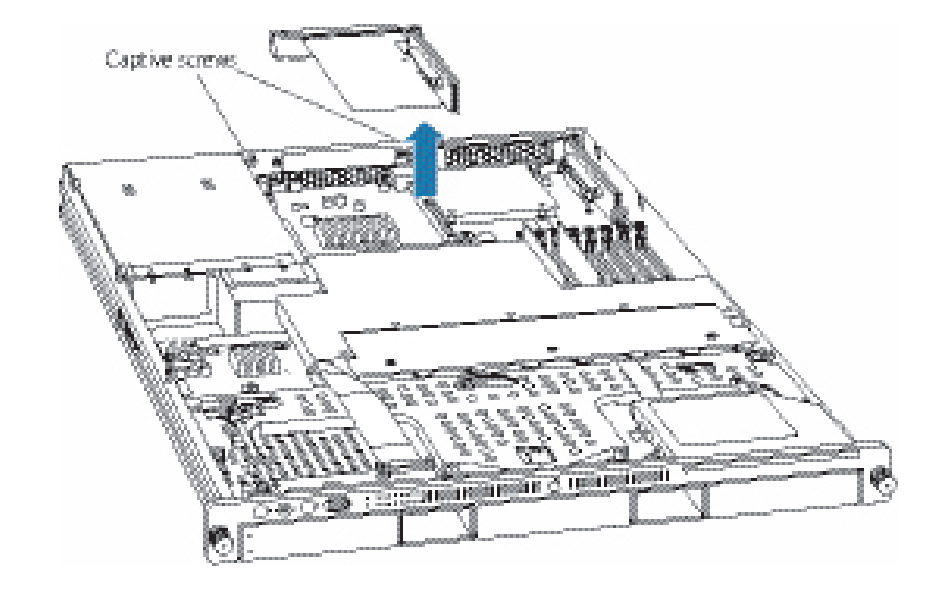
- Tilt the expansion card up so that its port clears the enclosure, and remove the card from the Xserve.
- Remove the screw that secures the expansion card to the riser, and separate the card and riser by gently pulling them apart.
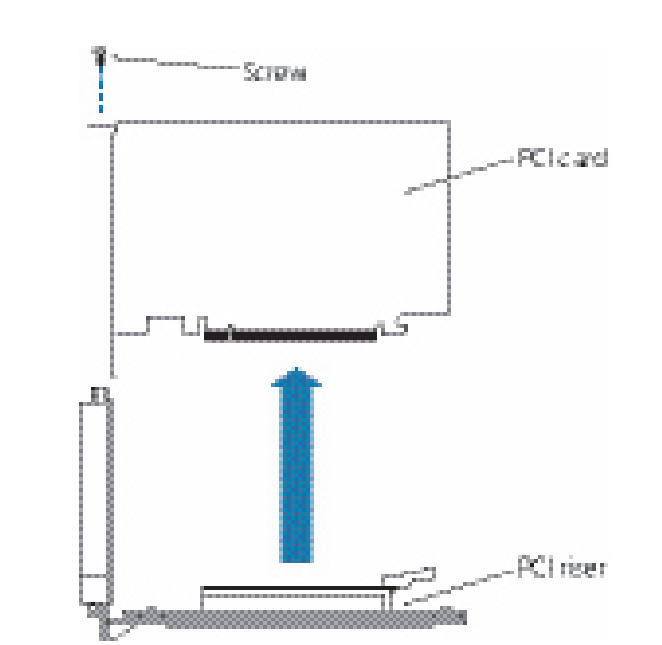
Warning: When removing or installing an expansion card, handle it only by the edges. Do not touch its connectors or any of the components on the card. Lift the card straight out from the connector to remove it, and insert it straight into the connector to install it. Do not rock the card from side to side and don’t force the card into the slot. Once the replacement card is installed, pull on it gently to check that it is properly connected.
Installing the Replacement Expansion Card
- Seat the replacement expansion card in the riser slot and replace the screw to secure the card in the rise.
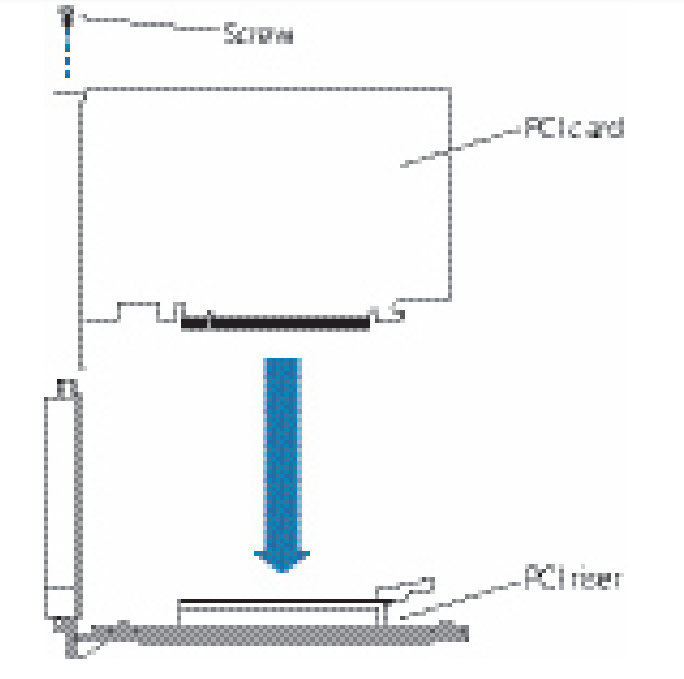
- Align the riser with the slot on the logic board and press to seat the card.
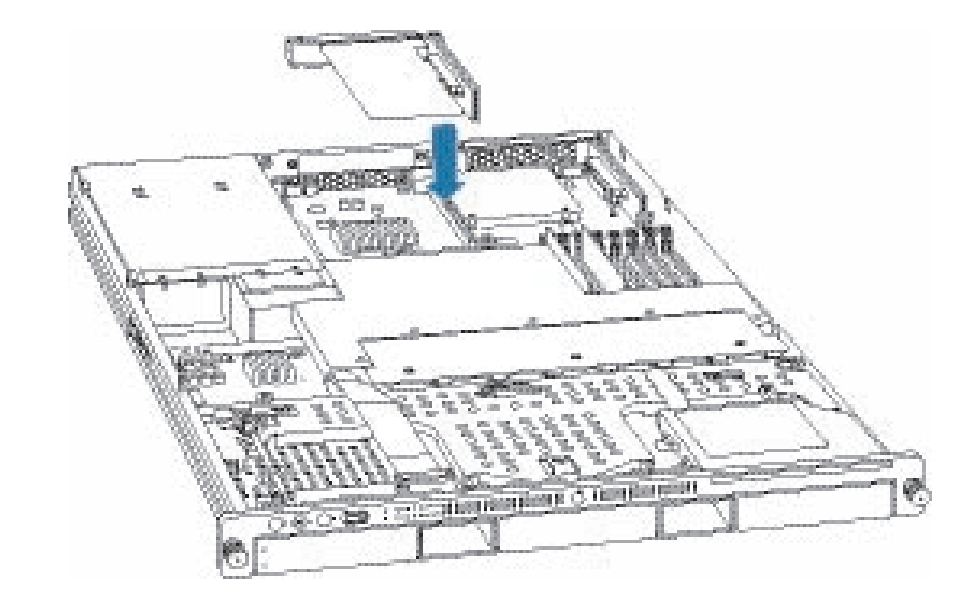
- Align the riser with the slot on the logic board and press to seat the card.
Closing the Xserve
- Replace and secure the cover.
- Slide the Xserve back into the rack, and tighten the front thumbscrews to secure the Xserve in the rack.
- If the server case was locked, use the enclosure key to lock the security lock on the front panel.
- Configure the card.
- To configure an Ethernet card, open the Network pane of System Preferences.
- To configure a Fibre Channel card, open Fibre Channel Utility.
- To configure a SCSI card, open Disk Utility
Warning: Never turn on the server unless all of its internal and external parts are in place and it is closed. Operating the server when it is open or missing parts can damage it or cause injury.
![]() Apple Inc.
Apple Inc.
© 2006, 2008 Apple Inc. All rights reserved.
Under the copyright laws, this document may not be copied, in whole or in part, without the written consent of Apple.
Every effort has been made to ensure that the information in this document is accurate. Apple is not responsible for printing or clerical errors.
Apple
1 Infinite Loop
Cupertino, CA 95014-2084
USA
+ 1 408 996 1010
http://www.apple.com
Apple, the Apple logo, Mac, Macintosh, and Xserve are trademarks of Apple Inc., registered in the U.S. and other countries.

PDF Resource
Apple Xserve Early 2008 PCI Expansion Card Replacement Instructions Manual OPTIM PDF
